How to Use Green Screen on CapCut
Green screen technology has become the most popular way to create professional videos by importing any location virtually in your videos. With that feature, you can change the background of your video to any popular place like mountains, buildings, or monuments.
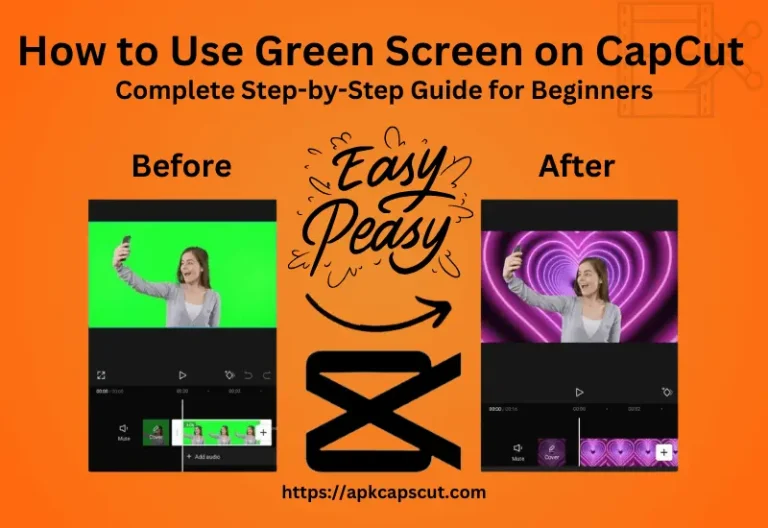
Now let’s talk about our beloved video editing app, CapCut, and know if this app can help us with this green screen feature. So the thing is, CapCut does include a green screen feature among its hundreds of other features. Say no to other expensive equipment or complicated software to create professional-looking videos.
So, you may have this question about how to use the green screen in CapCut. Don’t worry, we’re providing a step-by-step guide in this article, so you don’t face any problems while using the green screen feature in CapCut. Using the green screen on CapCut is a straightforward process that can be done in just a few simple steps to clear your mind that have a question How to use Green Screen on CapCut.
Steps to How to Use Green Screen on CapCut
If you meant to use the green screen in CapCut, you have to read carefully our How to use Green Screen on CapCut tutorial that provided below.
Conclusion
It’s important to note that the green screen effect can add a professional touch to your videos, making them more engaging and visually appealing. By using this effect, you can create videos that stand out from the crowd and capture the attention of your audience.
Overall, using the green screen effect on CapCut can be a great way to enhance your videos and take them to the next level. With the ability to add custom backgrounds and effects, you can create videos that are both creative and professional. So why not give it a try and see the benefits for yourself?
Hope you’ll learn How to use Green screen on CapCut. So happy Editing!